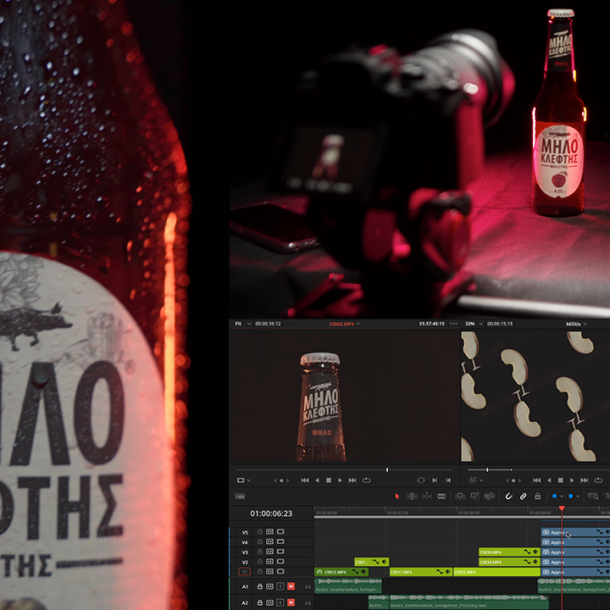
I guess that one of your main concerns as a beginner photographer is how to acquire new clients, involve in new projects, and stand out from the competition. One of the most valuable things that can help you with that is having a great-looking photography portfolio.
Building your first photography portfolio may sound difficult so in this article, I am gonna show you how easy and quick can be to build your own portfolio through the most versatile design application in the market – Canva.
7 Steps to create your first photography portfolio
1. Think about the format
Before the internet, portfolios were more structured and needed to be submitted in a physical copy. However, in the digital age, creating an online portfolio can be as creative and interactive as you would like it, and can vary in formats from a website to an Instagram profile—or even both.
As a beginner photographer, I found out that public relations were the bottom line of my sales funnel. The two most valuable tools for granting me more exposure and generating more leads were a pack of business cards and a digital portfolio.
I used to look for brands whose social media and marketing presence were in lack of quality images or videos and then cold-emailing them, using a standard sales body text and attaching my portfolio in PDF or sharing it with a link.
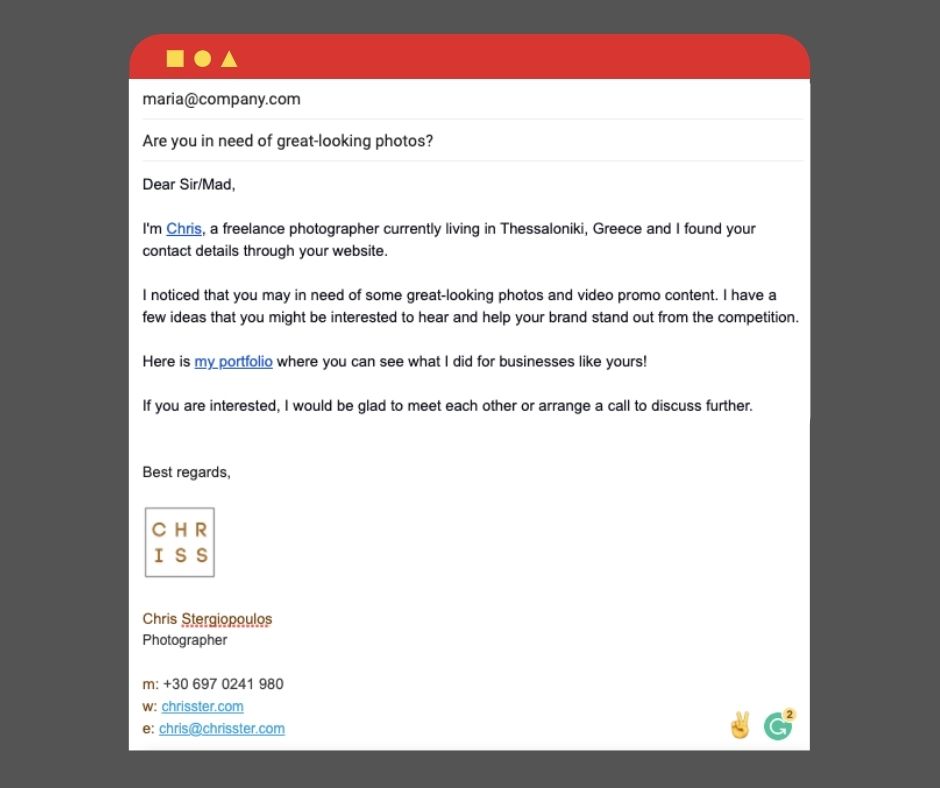
This cold approach may sound “cold” for most of you, but it’s a technique that most of the companies worldwide are doing, mostly start-ups and new businesses, to generate prospective clients, and believe me, it works!
Especially, when you offer something valuable, like a great-looking portfolio that can inspire and give a good taste of what you can do for the client.
So, if you don’t have yet a digital photography portfolio in pdf format, let’s continue and see how you can create your first one.
2. Use a versatile design application like Canva
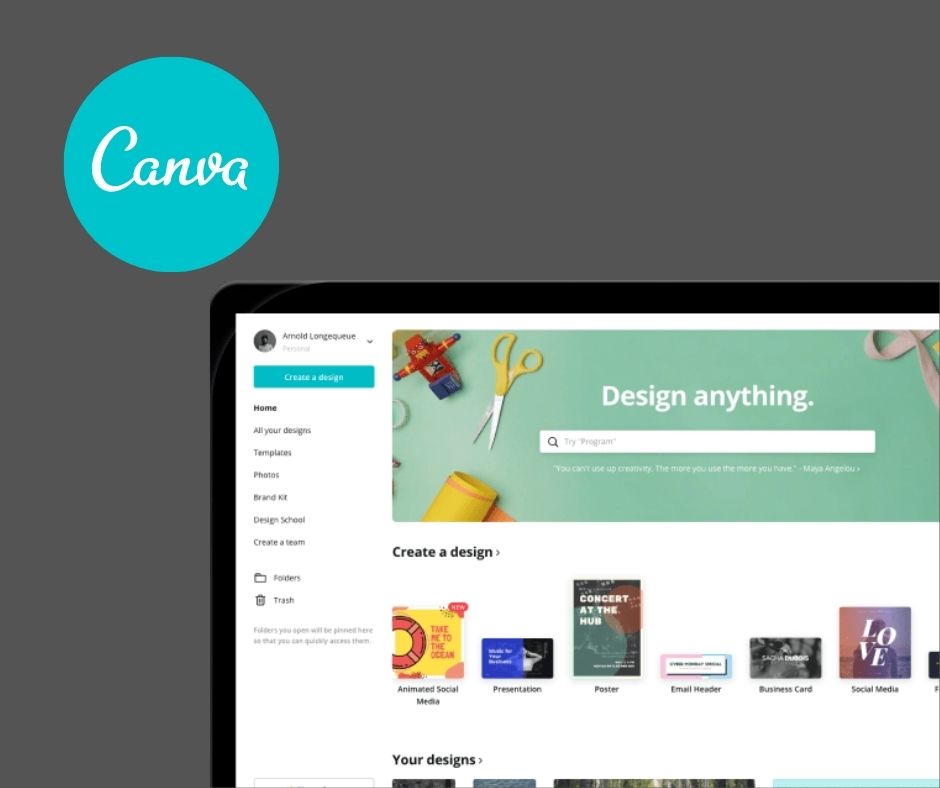
As a creator, you may have a lot of options when it comes to creating presentations. I guess that many of you, are already use Adobe InDesign, Illustrator, or even Photoshop when it comes to presentations. But there is a web-app out there called Canva that 1) is on the cloud 2) has the biggest library of assets you’ll ever see 3) you can work with others simultaneously 4) and finally making the creation, exporting, sharing, and printing easier than ever.
Canva is an all-in-one free design tool that combines a range of complex tools into one comprehensive, easy-to-use platform – from stock photos to templates, fonts, file sharing, and print. You can easily personalize your own brand, fonts, colors, logos and guess what.. you can do them all by yourself – even if you are not familiar with the design basics because Canva utilizes the drag-and-drop-approach to ensure that it will take you no more than 5 minutes to get skilled at using Canva.
Canva also offers a pro subscription, which includes many good features such as advanced branding options (uploading your own fonts, storing your branded colors), 2 million free photos to use, unlimited resizing and export options, and most important; creating animation and GIFs.
Let’s get on board to Canva and see step-by-step how you can easily create your first photography portfolio.
3. Choose a template
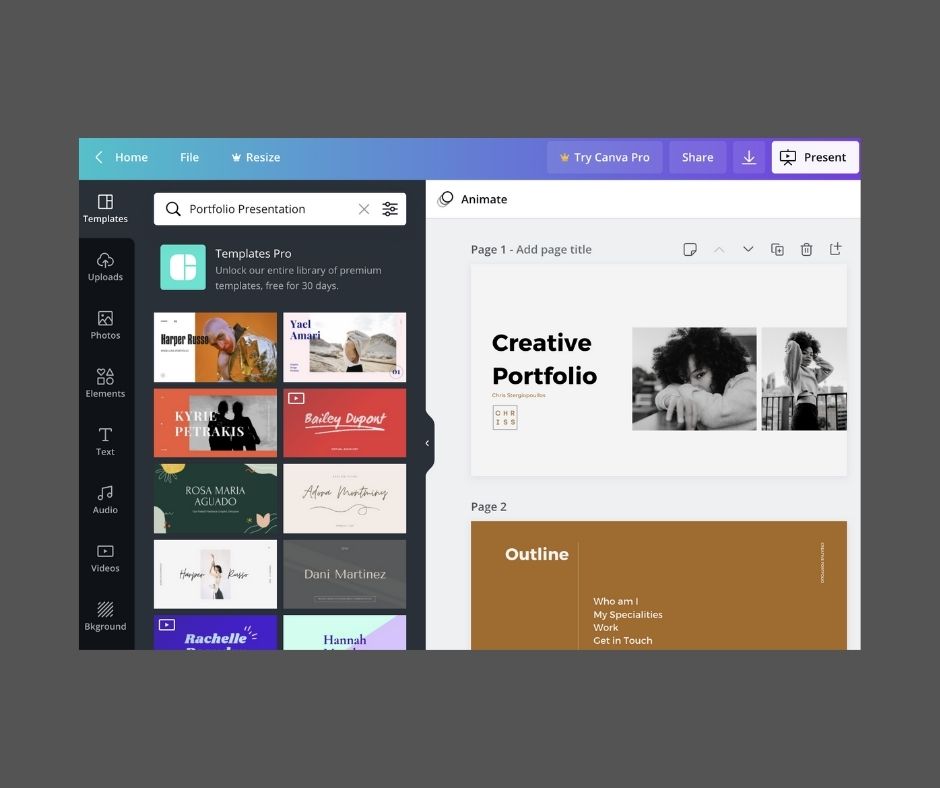
Creating a portfolio presentation in Canva is very easy! All you have to do at first is carefully selecting a great-looking template that best suits your needs.
Create a new design and search for “portfolio presentation”. In this way, you will get access to a big variety of portfolio templates.
Take your time and select one carefully. Have in mind that you can always edit the layout, design colors, slides order, and pretty much everything on it. So, if you can’t find something you like, it doesn’t matter at all, just take a thorough look and get inspired to create your own template.
Pick a template and change whatever you think suits your branding and aesthetics.
Here you will find a FREE photography template that you can use directly in your Canva account and create your first digital photography portfolio (Open Canva, click File, and make a copy, the template will be saved to your account – see a reference).
4. Structure your photography portfolio
A photography portfolio is actually a short presentation of ourselves and our best work. Generally speaking, there is a natural flow that any decent presentation has to follow which includes the intro, the main body, and the conclusion.
However, you should be aware that all presentation structures will be different in their own unique way and this will be due to several factors, including your presentation’s aim, the audience, and the main points your audience should remember afterward.
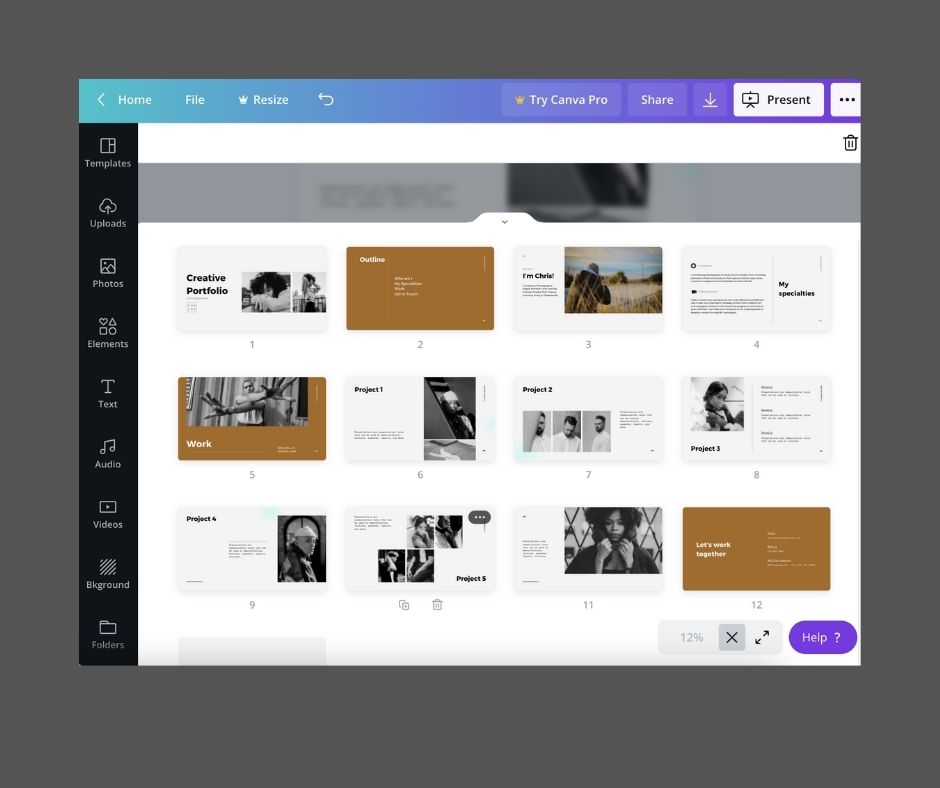
A structure that seems working well in my case contains:
- a Cover where I usually place my logo, the document’s title, and one or two photos.
- an Outline where I give a summary of what am I presenting
- a Who am I section where I include a short bio, what I do, and where I am based. People are often more inclined to hire photographers that they feel a personal connection with, and an honest, authentic bio will help establish that connection and encourage brand loyalty.
- the Specialities slide where I showcase a short description of the services provided
- the Work section where I include all of my work. I personally present my work within categories for example Food Photography, Portraits, Fashion, and Products, because in this way the viewer will see a variety of photography genres, and also you can present many projects grouped together. Marketing-wise, I also believe that brands’ logos can also help you gain trust, in the viewer’s eyes, so consider placing some of them next to each photo.
- and finally, the Get in touch slide where I include my main Call-to-Action as also my contact details.
Now you have a portfolio flow that covers all the vital sections and is a good starting point for yours. It allows your audience to easily follow along and sets out a solid structure that you can add your content to.
5. Carefully select your images
Don’t add every image you’ve ever created! It’s crucial that you only show your best photos. Think about the people who will be looking at your portfolio. What will they want to see? Choose images that you believe your audience will pay you to create for them.
Try to approach creating your photography portfolio as objectively as you can, prioritizing images of high technical skill and emotional resonance rather than whatever emotions you might have tied up with your work. Just because you love a photo does not mean that it necessarily belongs in your photography portfolio.
Also, make sure that every photo you pick is on-brand for your brand. Let’s say for example that you specialize in food photography but the previous week you delivered a wedding project that you might be really proud of. Don’t you think that including this photo it may look a little strange on your photography portfolio? Just leave that one in the archive for now.
I also recommend saving some time and keeping a few archived images that you may include in a different portfolio version.
6. Add your elements and finish your design
Since you have located your portfolio structure, and carefully selected your images the next step is to add some elements and design your presentation to bring your vision to life.
The background for your design could be a color or an image. Of course, you can always use a white background too. To choose a color, use the Color Picker tool in the toolbar at the top of the editor.
Your design might include text, icons, photos, or illustrations. These need to be combined in a visually appealing way. Consider the balance and composition of all the elements in the design. When you’re laying out your elements, you can easily check if the elements are balanced or aligned thanks to Canva’s automated rulers that pop out when you move an element.
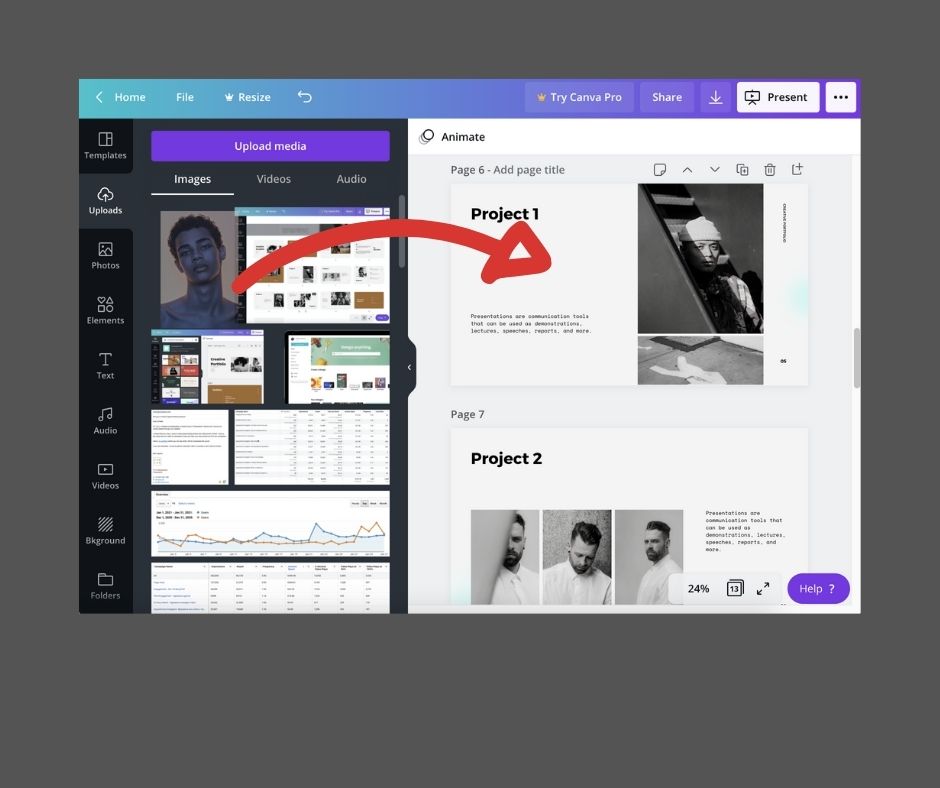
Next, upload your images. Then drag and drop your image onto the grid: it will snap to fit. You can also add filters to change the brightness, saturation, and clarity of the photo. This can help when layering text and elements.
Furthermore, don’t forget to select a font. Fonts can have a huge impact on your design. Canva has hundreds of pre-set font combinations to choose from. You can find these in the Text tab in the side panel.
Finally, you don’t have to study for hundreds of hours to be good at design. But, like most things in life, you’ll get better with practice, so don’t be discouraged if your first design doesn’t turn out perfectly. Instead, keep practicing and keep creating.
7. Publish your design
You’ve just added the finishing touches to your masterpiece, and now it’s time to show the world your creative skills. Downloading your design is just the tip of the iceberg. Creating a digital portfolio on Canva allows for your portfolio to be easily shared and displayed in many different ways.
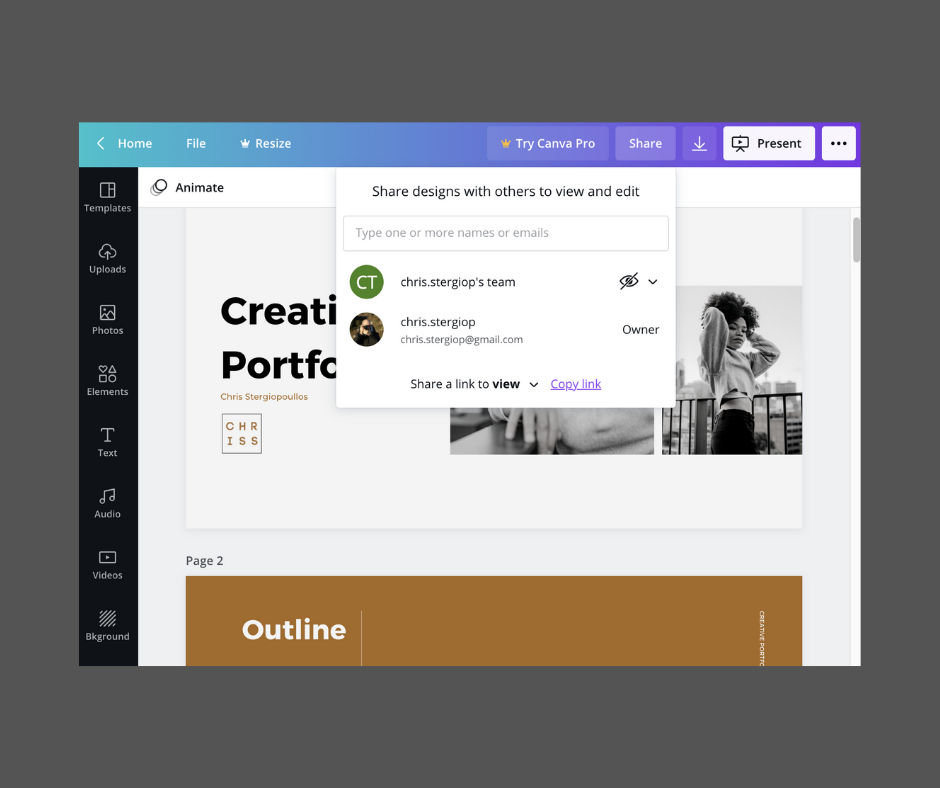
Once you’re happy with your final result, find the publish button and press Download. The next step is to pick a format that will work best for your needs—you can choose between PNG, JPG and PDF formats.
If you would like to send a link to a prospect, you can easily share your design. Copy the link provided in the Collaborate menu and choose whether you want the recipients to view, or, view and edit the design. But fear not, it will also save on your Canva account so you can access it whenever you need it. Whenever you log back in, you can find all of your designs on the Canva homepage.
These were all the steps that you can follow to create your own digital photography portfolio and I hope Canva will help you achieve that with ease. Don’t forget that you may build the slickest portfolio or use the most premium design elements, but a portfolio is really only as good as its photographs. As you grow in your profession and client base, your portfolio should reflect that too. Keep updating your portfolio and image collection as needed, remembering the essential rules of having a well-thought-out portfolio that gives a clear idea of who you are and what you are capable of doing.
Once again, here you will find a FREE photography template that you can use directly in your Canva account to create your first digital photography portfolio (Open Canva, click File, and make a copy, the template will be saved to your account – see a reference).
Till the next time, get busy creating and start learning!


